Automations Worth Setting Up First
The automations that survive past the first fortnight — boring on purpose, useful every day, and easy to keep running.
This post contains affiliate links. If you buy through these links, I may earn a commission at no extra cost to you. Thanks for supporting the blog.
These are the automations that survive. Most people start by building something clever, enjoy it for a week, and then quietly turn it off because it fires at the wrong moment. The ones below are boring on purpose — they save time or energy every single day, and you stop noticing them, which is the highest compliment an automation gets.
New to Home Assistant? Start with Getting Started with Home Assistant, then come back.
Enough hardware for most of these — a hub and a couple of switchable outlets covers the majority
- Home Assistant Green — The shortest path to a working setup — plug in Ethernet and power and you're running tonight. Skip it if you actually want to learn what's underneath, or if you plan to run other services on the same box.
- Kasa Smart Plug — The easiest first automation — no radio required, works over Wi-Fi, and integrates locally. Great for lamps, chargers, and anything you want to cut power to on a schedule.
Morning jumpstart
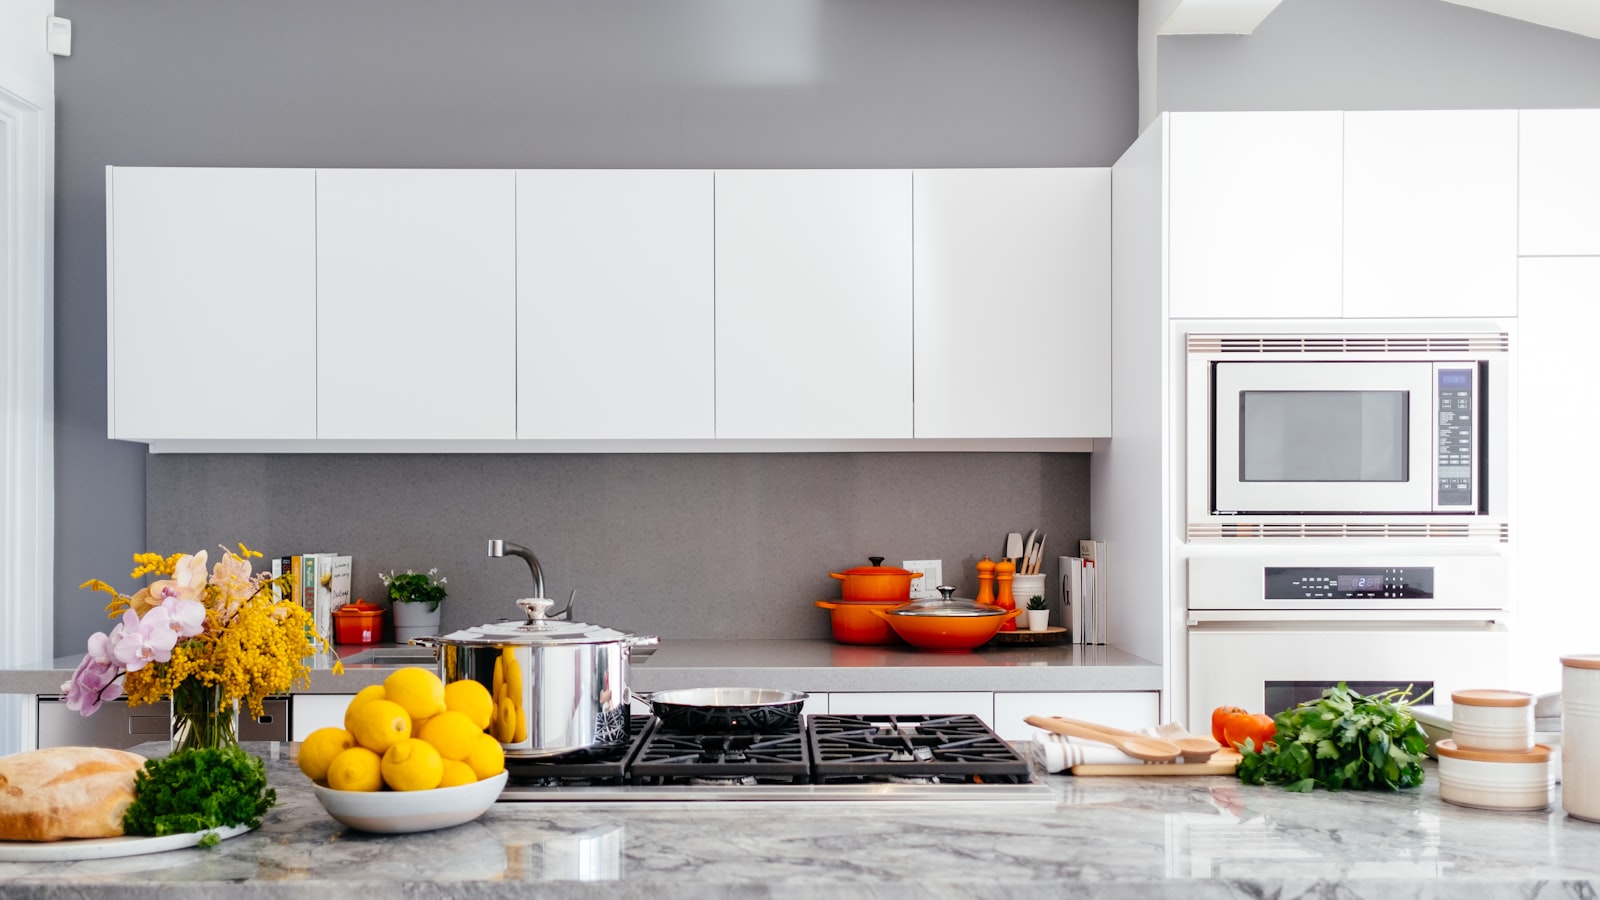
- Brighten lights gradually 10–15 minutes before your alarm. Pair presence or phone‑charging sensors to avoid false positives.
- Announce the day’s weather + first calendar event on motion in the kitchen.
- If you’re starting from scratch, Home Assistant Green is a great hub to begin.
Energy savings, made boring (that’s good)
- Turn off idle outlets after bedtime; auto‑restore only when presence returns. A simple smart plug like Kasa Smart Plug works well for lamps and chargers.
- Auto‑adjust thermostat based on occupancy (e.g., phone geofencing + door sensors). Use gentle setpoint changes to avoid spikes.
Wellness nudges
- “Hydration light” turns blue on the hour in the kitchen; tap to acknowledge and reset.
- If step count is low by 6pm, announce a short walk scene and dim office lights.

Chore helpers
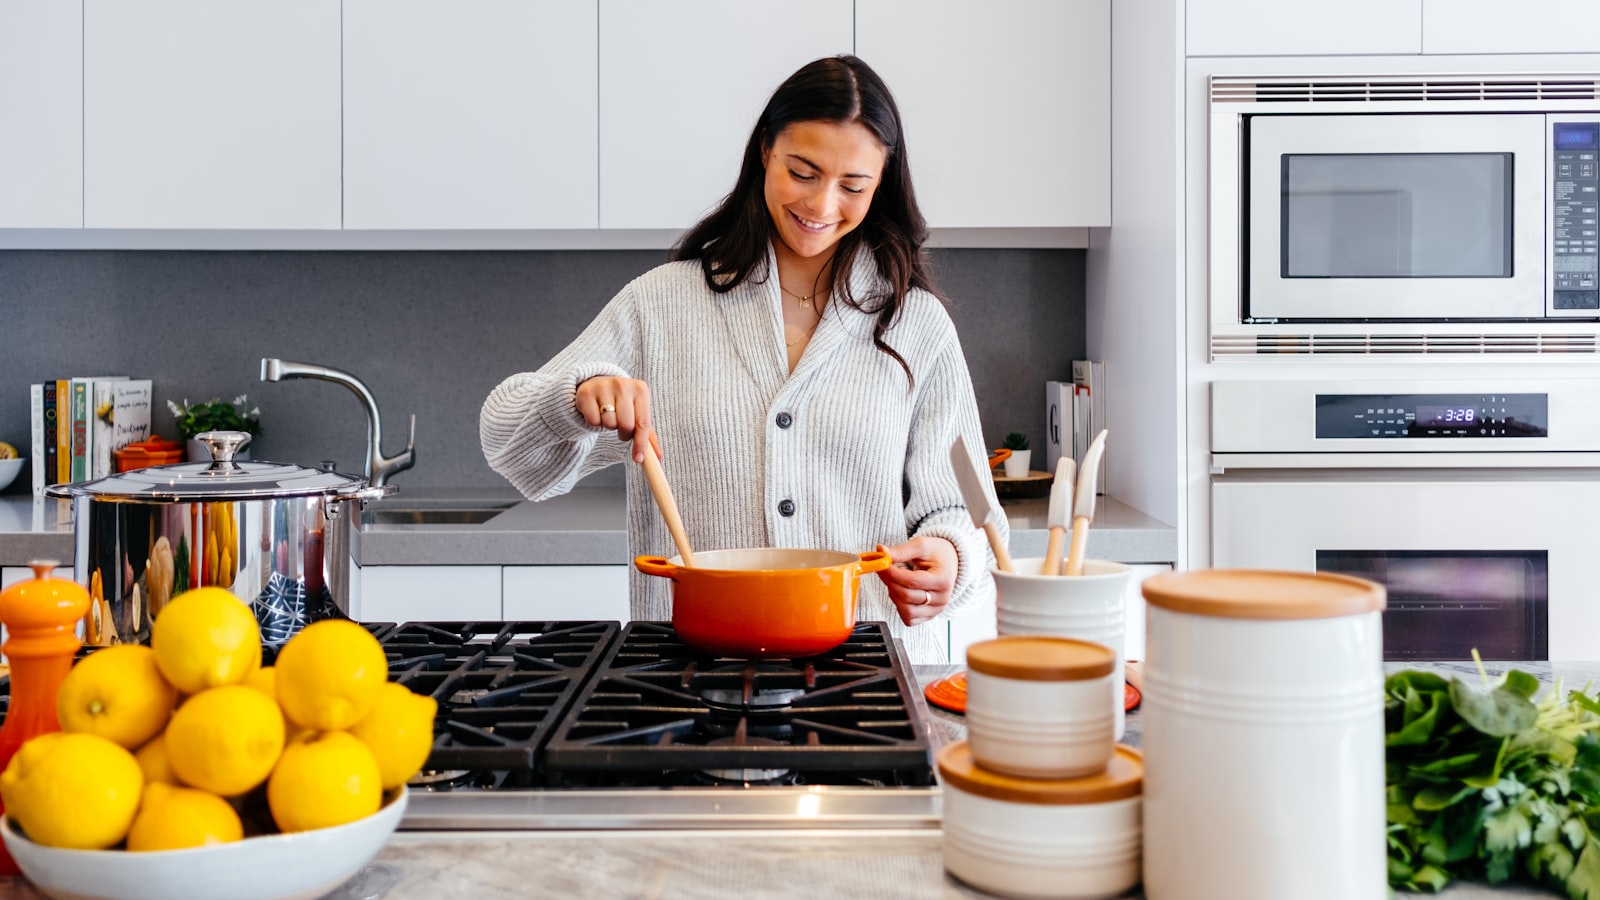
- Dishwasher done? Flash sink light once; then set a reminder card on your dashboard until the door opens.
- Laundry finished? Announce once on the nearest speaker; snooze reminders after you open the lid.
Arrival & departure routines
- Arrive after sunset: porch lights to warm white, hallway to 40%, favorite playlist at low volume.
- Leave home: arm security, set HVAC to eco, turn off non‑essential outlets, and close scenes.
Security sanity checks
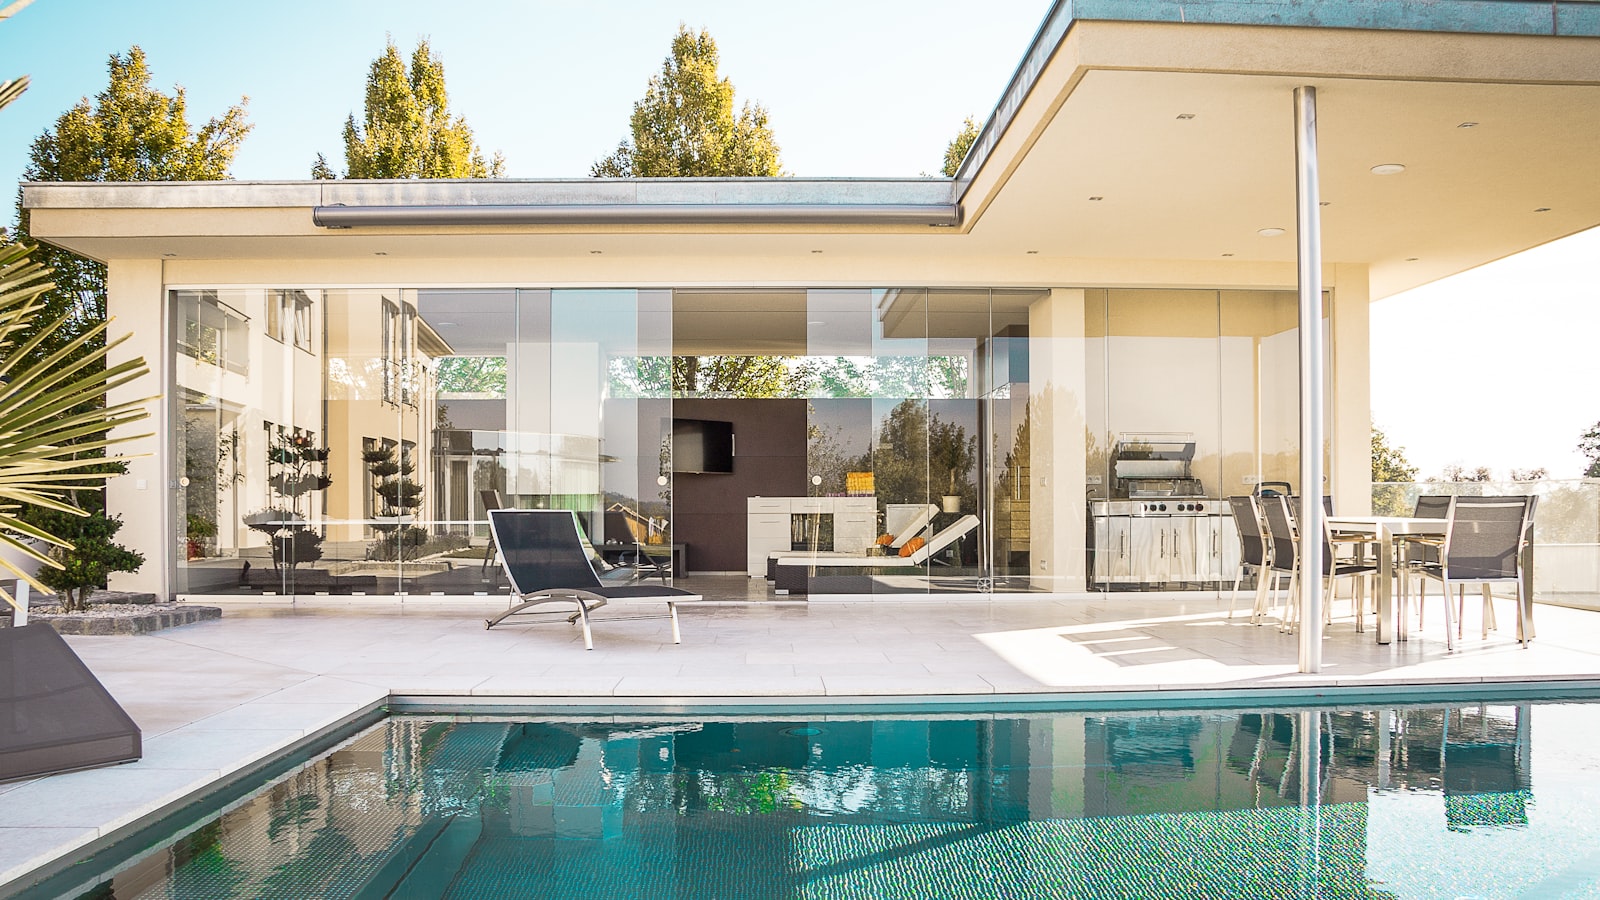
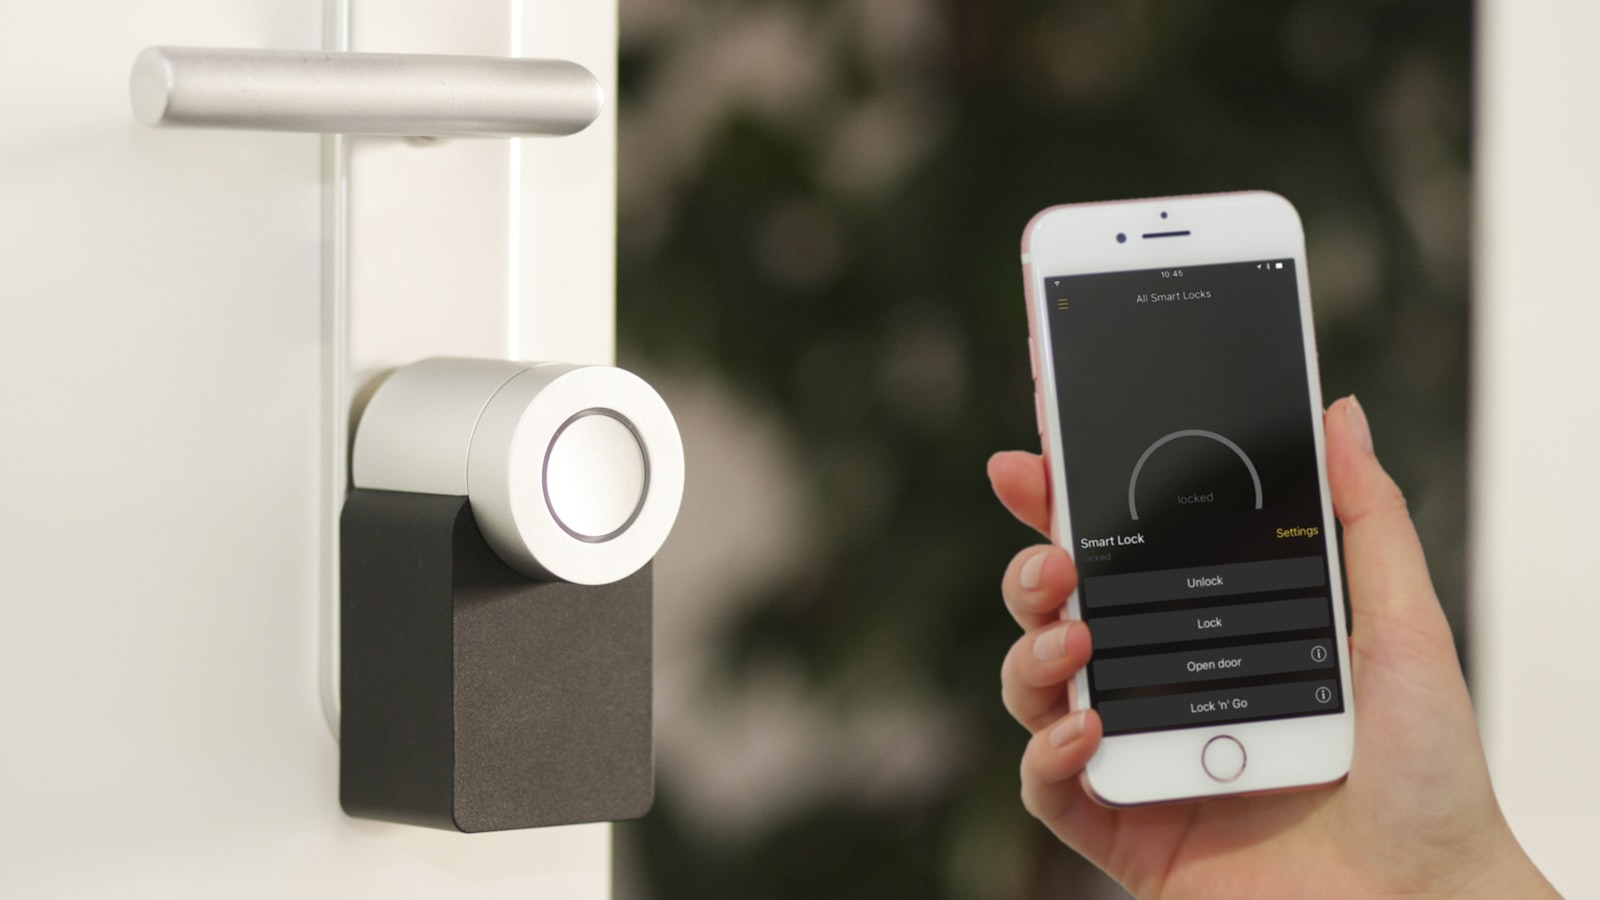
- “Night lock” scene: confirm doors closed, windows shut, garage down; prompt only for exceptions.
- Motion‑based “patio watch”: record clips and notify only if motion persists >30s.
Party‑ready scene
- One‑tap “guests” scene: front lights brighter, kitchen/couch to warm white, TV bias lighting on, music preset.
- Optional: pause automations that would otherwise dim or turn off lights during gatherings.
Wind‑down & sleep hygiene
- After 9pm: reduce blue content in key rooms; encourage lamp lighting rather than overhead.
- If TVs or consoles stay on past midnight, fade outlets over 5 minutes using Kasa Smart Plug .
Travel mode
- Randomize evening lights and suppress non‑critical notifications.
- Keep external cameras “on,” but gate alerts to sustained motion to reduce noise.
Hardware tips for a setup that lasts
Two failure modes account for most “my Home Assistant broke” posts, and both are hardware, not software.
Underpowered supplies. A Pi browning out under load produces symptoms that look like software faults — random reboots, corrupted config, integrations that vanish. Use a supply rated for the job.
Dying microSD cards. Home Assistant writes constantly. Cards fail without warning and take your configuration with them. Boot from an SSD.
The DIY baseline — the supply and the SSD are not optional extras
- Raspberry Pi 4 (4GB) — The tinkerer's choice. More setup work than the Green, but you learn the stack and can run other things alongside. Budget for the power supply and storage below — the board alone isn't enough.
- USB‑C 5V/3A Power Supply — Don't power a Pi from a spare phone charger. Undervolting causes random reboots and filesystem corruption that look like software bugs and waste entire evenings.
- USB 3.0 SSD + Enclosure — Boot from this instead of the microSD. It's the single upgrade that most reduces the odds of losing your setup, and it's noticeably faster.
Once you want battery-powered sensors — motion, contact, temperature — you’ll need a radio. Zigbee covers the cheap, plentiful devices; Z‑Wave is the ecosystem of choice for locks and in-wall switches:
Adding sensors
- Zigbee 3.0 USB Dongle — Get this first if you're adding radios. Zigbee covers the cheap, plentiful stuff — bulbs, contact and motion sensors, buttons. Use a USB extension so it isn't sitting next to a USB 3 port, which will interfere with it.
- Z‑Wave 700 USB Stick — Better range and a less crowded band than Zigbee, and the ecosystem of choice for locks and in-wall switches. Devices cost more, so most people don't need it on day one.
 Photo credits: Unsplash contributors
Setup notes
- Use scenes for “look & feel,” automations for “when & why.” Keep triggers simple: presence, time, sun, motion, device state.
- Build guardrails: time ranges, sun elevation, do‑not‑disturb windows, and presence checks reduce false triggers.
- Name for clarity: “Kitchen—Hydration,” “Night—Lock Check,” “Guests—Lighting.”
What to Read Next
- Five Practical Home Assistant Automations — step-by-step triggers and conditions
- Getting Started with Home Assistant — hardware and install walkthrough
- The gear I actually run
Ship one small automation at a time and let the wins stack up. Got one that’s earned its place in your house? Drop it in the comments — I’m always looking for ideas that survive the two-week test.